Before & After: Turning a Raw Phone Photo Into a Post That Sells
If you're trying to figure out how to edit food photos for Instagram without a photographer or a design app, the answer is simpler than you think. The food on your phone never quite looks like it did in person. The lighting's off, the table's a mess, and it just looks like a snapshot, not something that makes people stop scrolling.
And even a good photo has a catch: on its own, it doesn't tell anyone what the dish is, which restaurant it's from, or where to get it. A scroller feels a flicker of hunger, then keeps going, because nothing says it's a local spot they could actually visit. A great photo earns the glance. The details on it turn that glance into a customer.
Here's the whole transformation, step by step, using a sample dish. Each step takes seconds.
Where it starts: the raw photo
Picture a quick shot of a South Indian thali, taken one-handed during service. Straight off the phone it's a little dark, the table's cluttered, and nothing on the image says what it is or what it costs. It's a fine photo. It's just not a post yet.
The good news: everything from here is quick.
Step 1: Fix the light
Lighting is the biggest difference-maker. PostMyPlatter's photo enhancement (auto, bright, warm, natural) corrects the color and lifts the shadows in one tap, so the orange indoor cast disappears and the food looks the way it did on the plate.
Step 2: Clean up the background
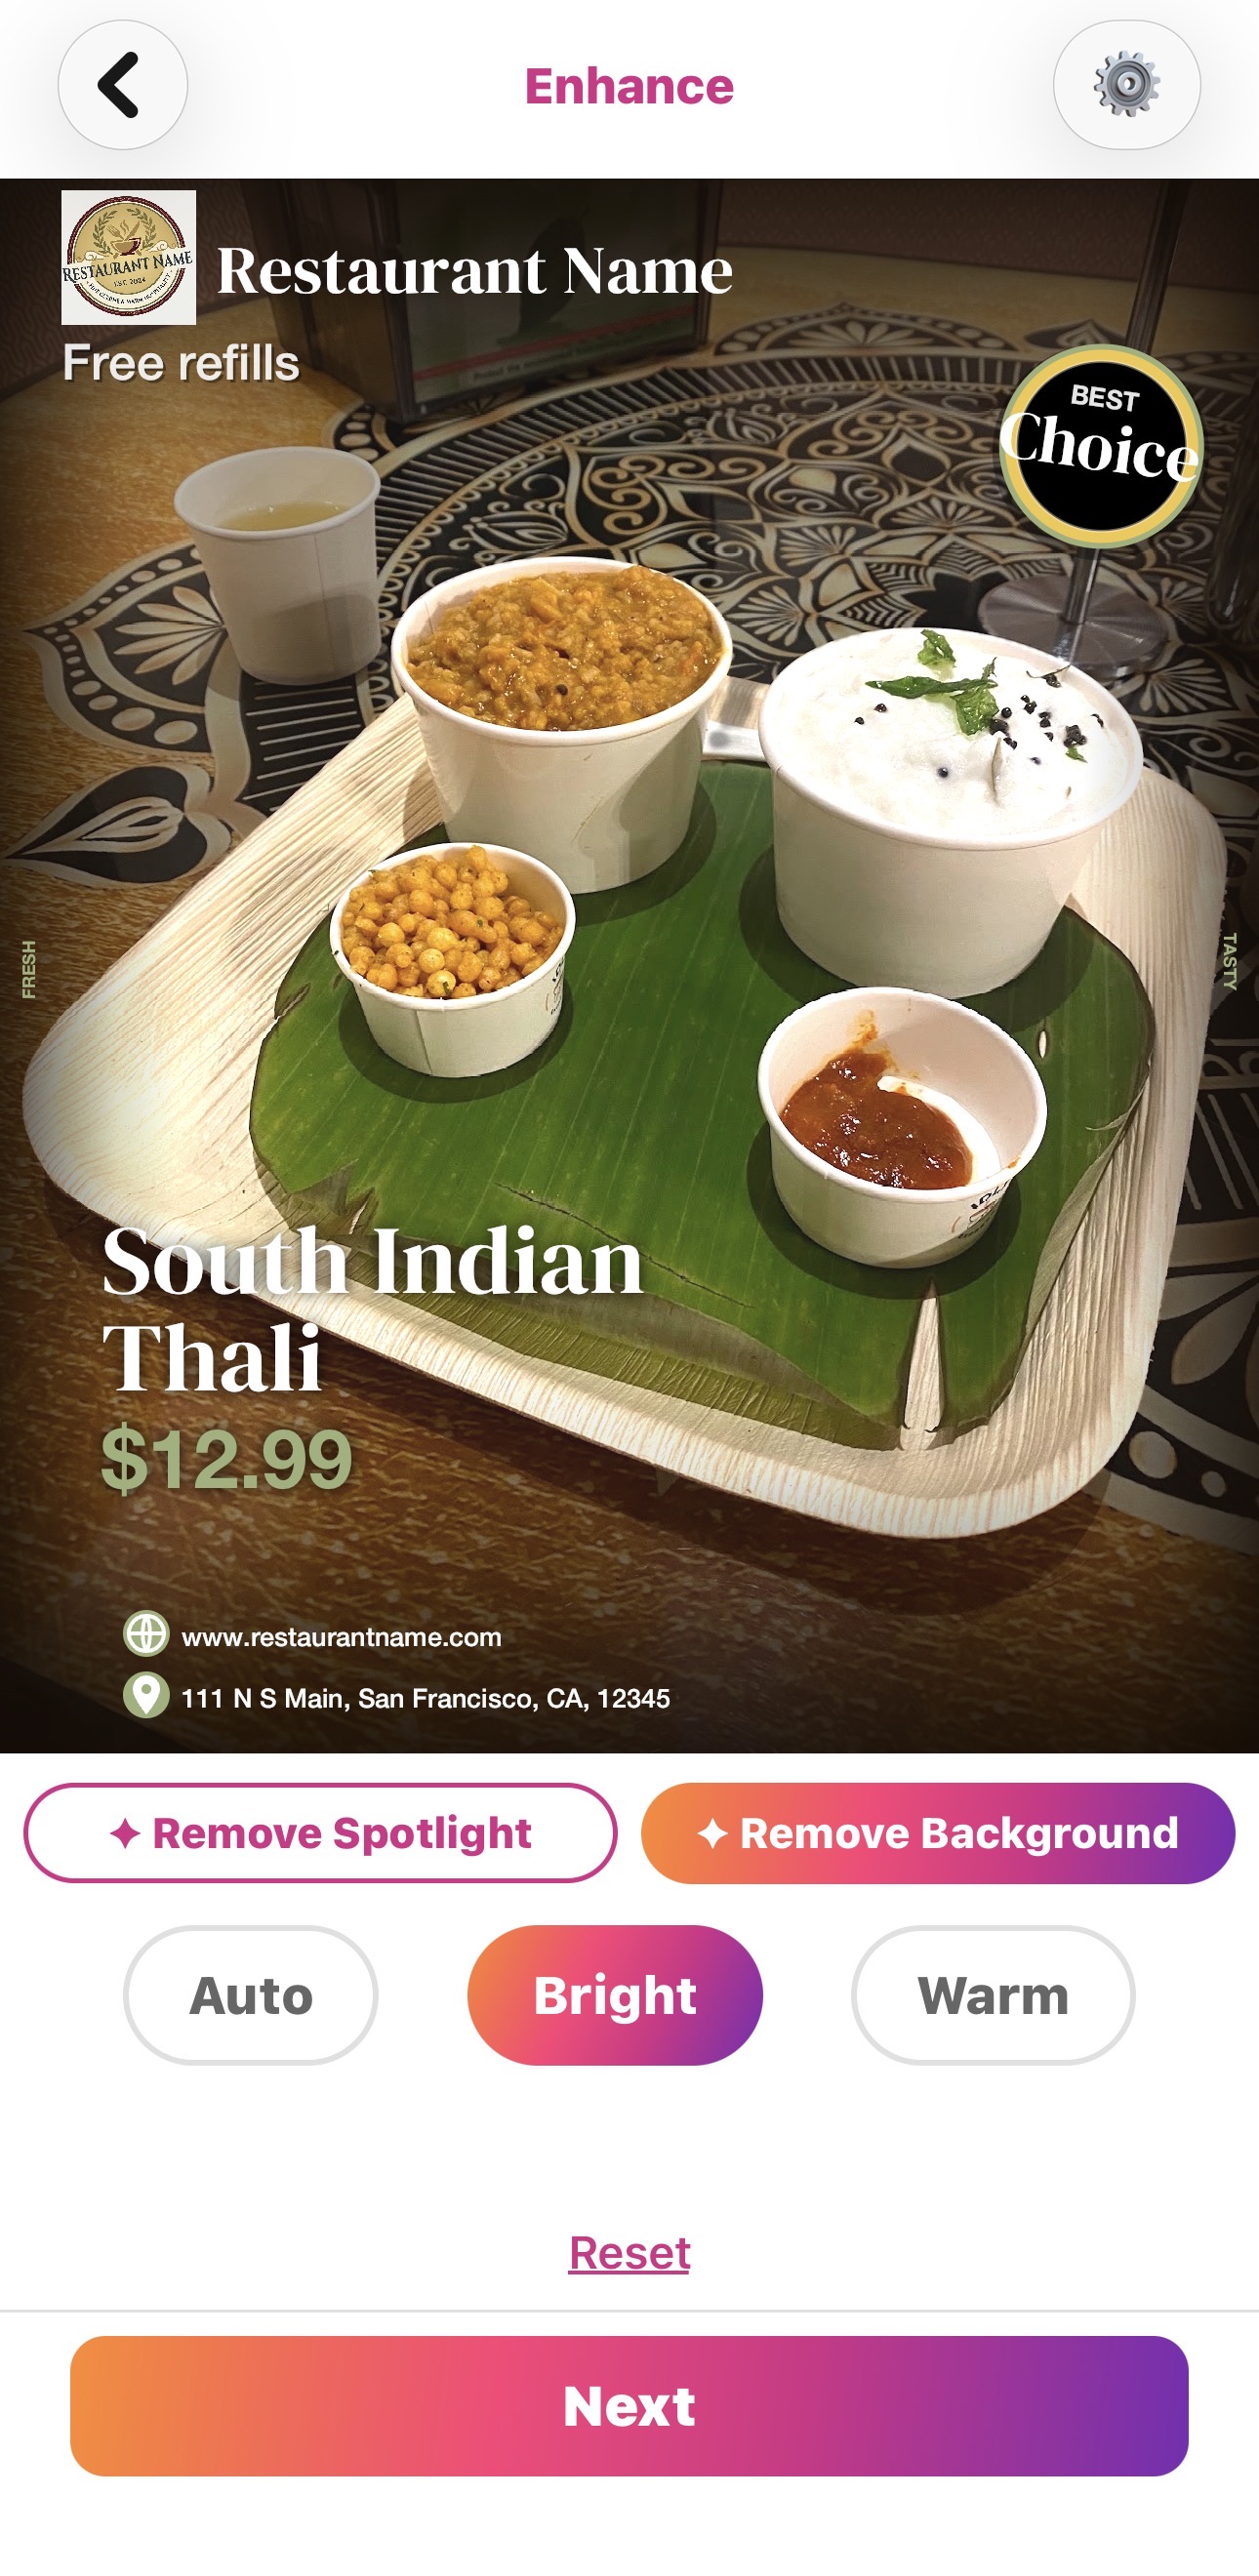
Next, the clutter. The messy table edge and background distractions pull attention away from the dish. PostMyPlatter gives you two ways to fix it, depending on the look you want:
- Spotlight keeps the background but blurs and dims it, so the dish stays in sharp focus while everything around it fades back. Use this when you want to keep a bit of the setting and atmosphere.
- Background removal takes the dish out of its surroundings entirely and drops it onto a clean backdrop, for a crisp, studio look.
Either way, the food becomes the focus, and a rushed snapshot suddenly looks intentional.
Step 3: Add the details (the part most people skip)
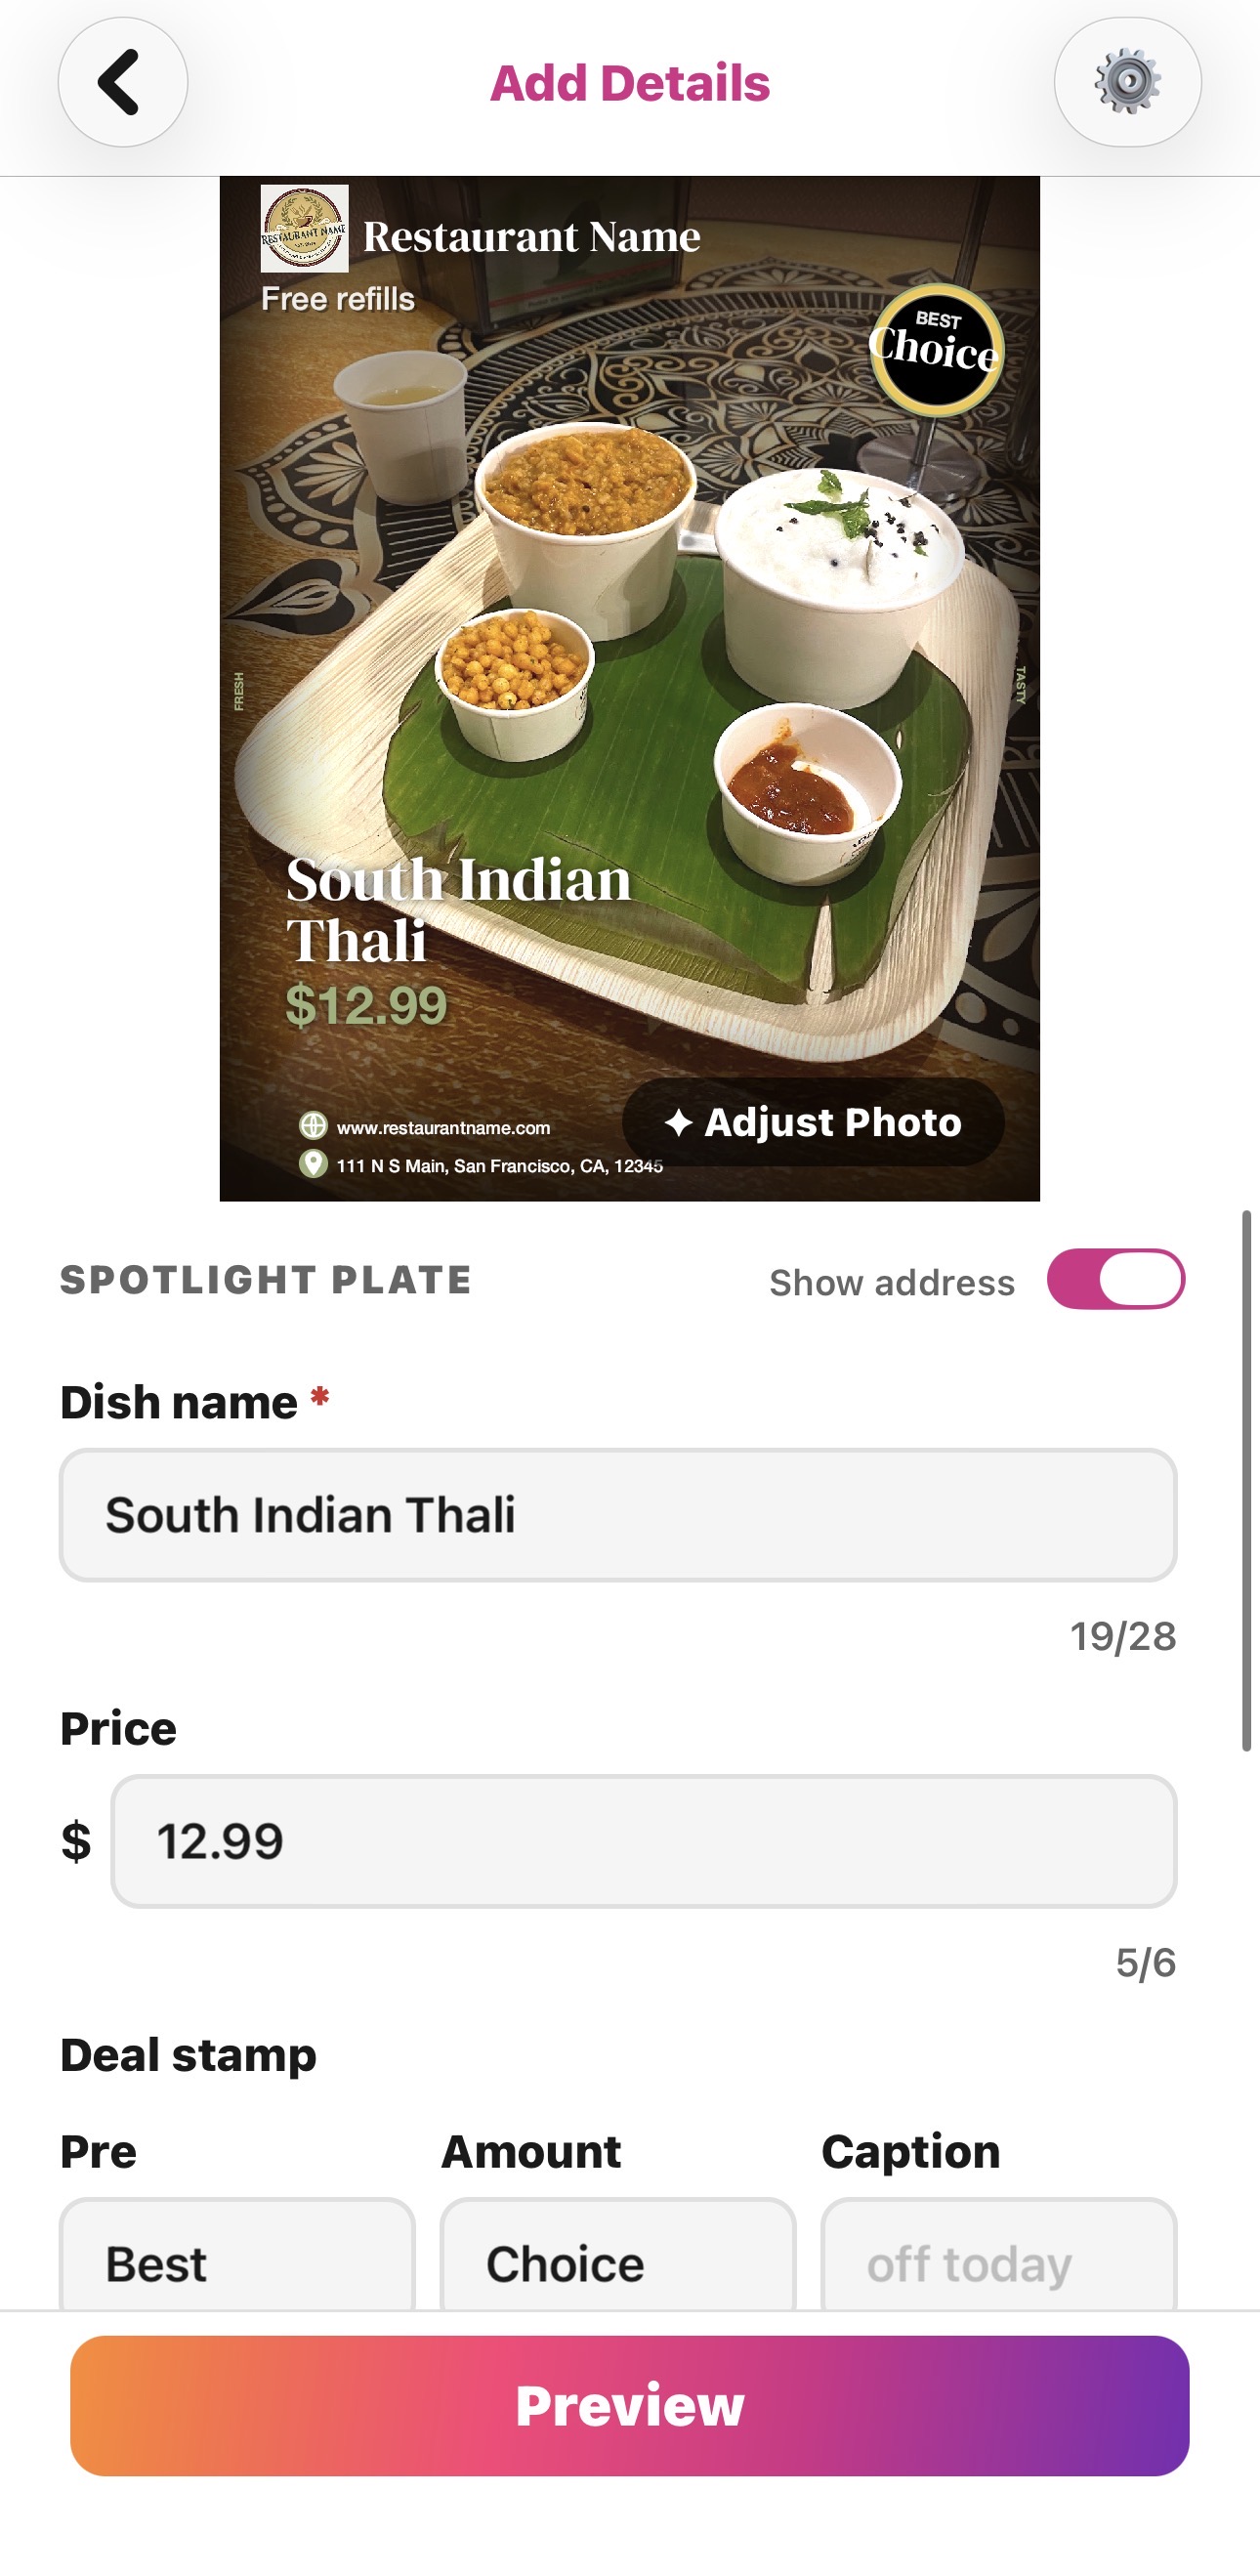
This is the step that actually sells the dish, and it's the one most photos are missing. A beautiful plate with no information makes someone hungry for a second, then they scroll on, because they don't know what it is, who made it, or where to find it.
Putting text on a photo with your phone's tools or a design app is fiddly and slow, which is why most people skip it. In PostMyPlatter it's as easy as texting: drop the dish into a template and type in the essentials, the dish name, price, your restaurant name, and location. No layers, no fonts to wrestle with.
Now a local scroller doesn't just see good food, they instantly see "South Indian Thali, $12.99, from a restaurant near me." For local businesses that's everything, because the people most likely to walk in are the ones nearby, and they'll only know the post is for them if the photo tells them so.
Step 4: Write the caption
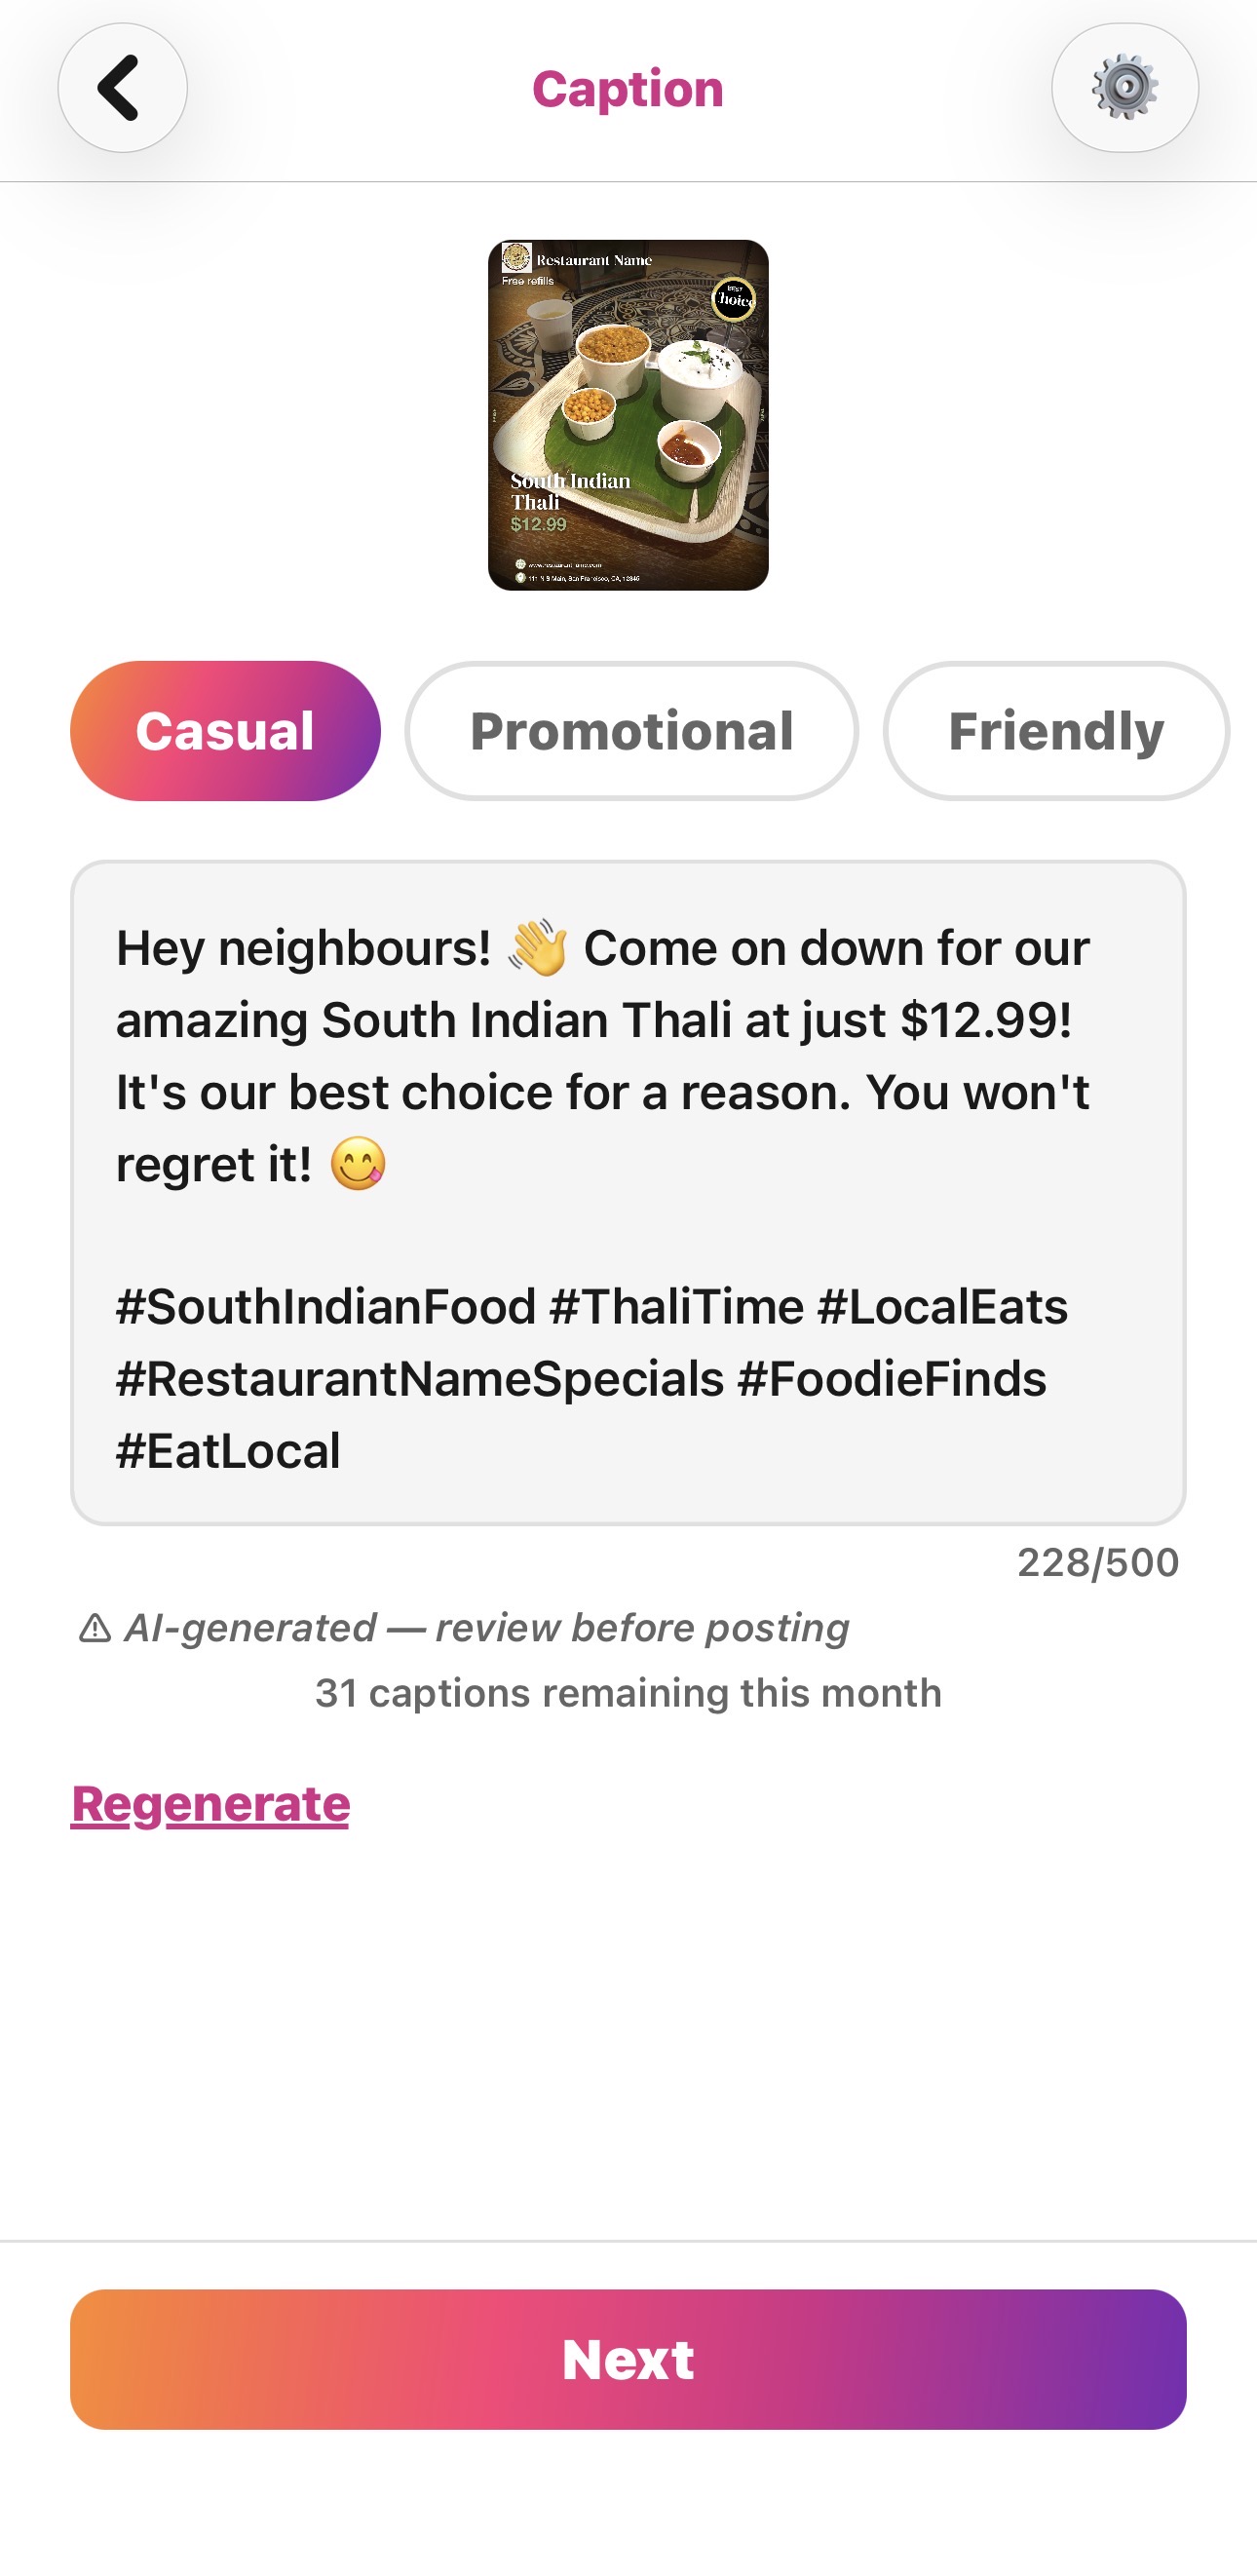
Instead of staring at an empty caption box, PostMyPlatter's AI writes one from your dish details, so you get a natural, appetizing caption to post as-is or tweak in seconds.
The result
Same dish, same phone, same kitchen. What started as a dark, cluttered snapshot is now a bright, clean, on-brand post with the dish name, price, and a caption ready to go, all in under a minute.
That's the difference between a photo that sinks down the feed and one that tells a nearby customer exactly what they're looking at and where to get it. Not a better camera or a design degree, just a few quick steps PostMyPlatter handles in one place.
PostMyPlatter requires a subscription. Start with a 14-day free trial.